
Craft: Learn to Make Your Own Wooden Toy Food Extra Accessories

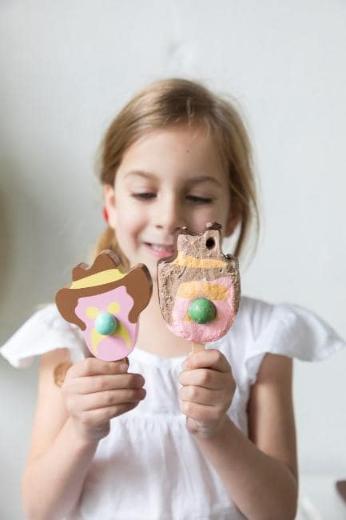
Another one of our favourites at-home craft activities for kids, designed to bring creativity and play together in the best way. We’ve made it easy for you by providing a downloadable template along with simple, step-by-step instructions so you can create your own wooden food pieces at home and seamlessly extend your child’s playtime using them alongside our other toys.
We love crafting, and we know you do too. There’s something special about making something with your hands, especially when it becomes part of everyday play. It not only keeps little ones engaged but also helps build confidence, creativity, and imagination.
We know how much kids love getting creative, and even better when their creations become part of playtime. Our wooden food craft is the perfect mix of fun and nostalgia, sparking imagination long after the crafting is done. Discover how to make your own at home below…

What You’ll Need
Before you begin, gather all your materials and prepare your workspace—this simple setup makes crafting easy, fun, and perfect for creating toys that can be used again and again in imaginative play.

- Make Me Iconic printed template on 80gsm white paper
- Paper scissors
- Pinking shears (for a decorative fabric edge)
- Red cotton fabric – approx. 10cm x 10cm
- Small elastic band
- Hand saw (adult supervision required)
- Ruler
- Pen or pencil
- Sandpaper (fine grit recommended)
- Pine dowel – (43x43mm, 1.2m long) x 1
- Square pine DAR – (42x42mm, 1.2m long) x 1
- Mod Podge glue (or craft glue suitable for wood)
- Paintbrush
- Lid from a 100’s and 1000’s container (optional extra for added realism)

Step-by-Step Instructions
1. Measure & Mark Your Wood
Start by using a ruler and pen to carefully measure and mark where you’ll cut your wood pieces. Take your time with this step—accurate measurements will ensure your pieces fit together neatly and look more realistic once assembled. If you're crafting with kids, this is a great opportunity to involve them in simple measuring and marking.
2. Cut the Wood
Using a hand saw, carefully cut along your marked lines. Work slowly and steadily to keep your cuts as straight as possible. This step is best handled by an adult or with close supervision, ensuring safety while creating clean, even pieces.
3. Smooth the Edges
Once your pieces are cut, use fine-grit sandpaper to smooth all edges and surfaces. This step is important for both safety and finish—removing any rough edges makes the toy safe for little hands and gives your wooden pieces a polished, professional look.

4. Prepare the Label
Cut out your MMI template using paper scissors, following the outline as neatly as possible. Apply a light, even layer of Mod Podge (or craft glue) to the back of the template—avoid using too much glue, as this can cause wrinkles.
5. Attach the Label
Carefully position the label onto your wooden piece, aligning it straight before pressing down. Gently smooth over the surface with your fingers, working from the centre outward to remove any air bubbles and ensure a clean finish.
6. Create the Fabric Top
To create the classic “jam jar” look, trace around a circular object (approximately 8cm in diameter) onto your red cotton fabric. This will form the decorative cover for the top of your jar.

7. Cut the Fabric
Cut out your fabric circle using pinking shears. The zig-zag edge not only looks great but also helps prevent fraying, giving your craft a neat and long-lasting finish.
8. Assemble the Jar Top
Place the fabric circle over the top of your wooden jar piece and secure it in place with a small elastic band. Adjust the fabric so it sits evenly around the edges for that classic jam jar style.

Optional Extra For Added Fun
For an extra touch of realism, reuse a lid from a 100’s and 1000’s container and place it on top of your wooden “sprinkles” jar. It’s a simple addition that makes the finished piece feel even more authentic and kids will love the familiar Aussie detail.

More Craft Activities to Try at Home
Looking for more ways to keep little hands busy? We’ve created a range of fun, easy craft activities for kids designed to inspire creativity and extend imaginative play at home. From wooden toy crafts to printable activities, there’s something for every age and skill level. You can download our free craft books here for even more ideas or explore other pages on our blog for step-by-step guides, tips, and inspiration to keep the creativity flowing.

Decorate your own Toy Kitchen
If you’re feeling inspired to take your play kitchen to the next level, be sure to check out our other blog post on how to decorate your own IKEA toy kitchen. It’s packed with step-by-step ideas, styling tips, and easy instructions to help you transform a simple setup into something truly special. From clever storage solutions to creative design touches, it’s the perfect guide to creating a beautiful and functional play space your kids will love.

This DIY wooden food craft is more than just a fun activity; it’s a creative experience that continues long after the making is done. By turning simple materials into something your child can play with, you’re not only encouraging hands-on learning and creativity, but also creating toys that feel personal and meaningful.
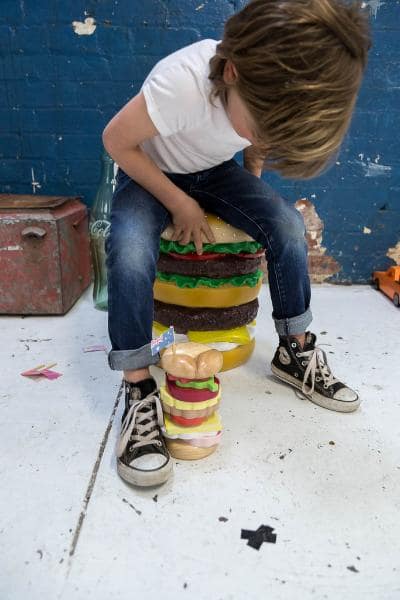
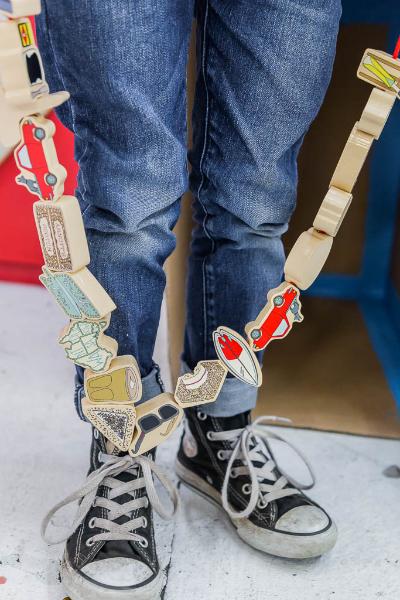
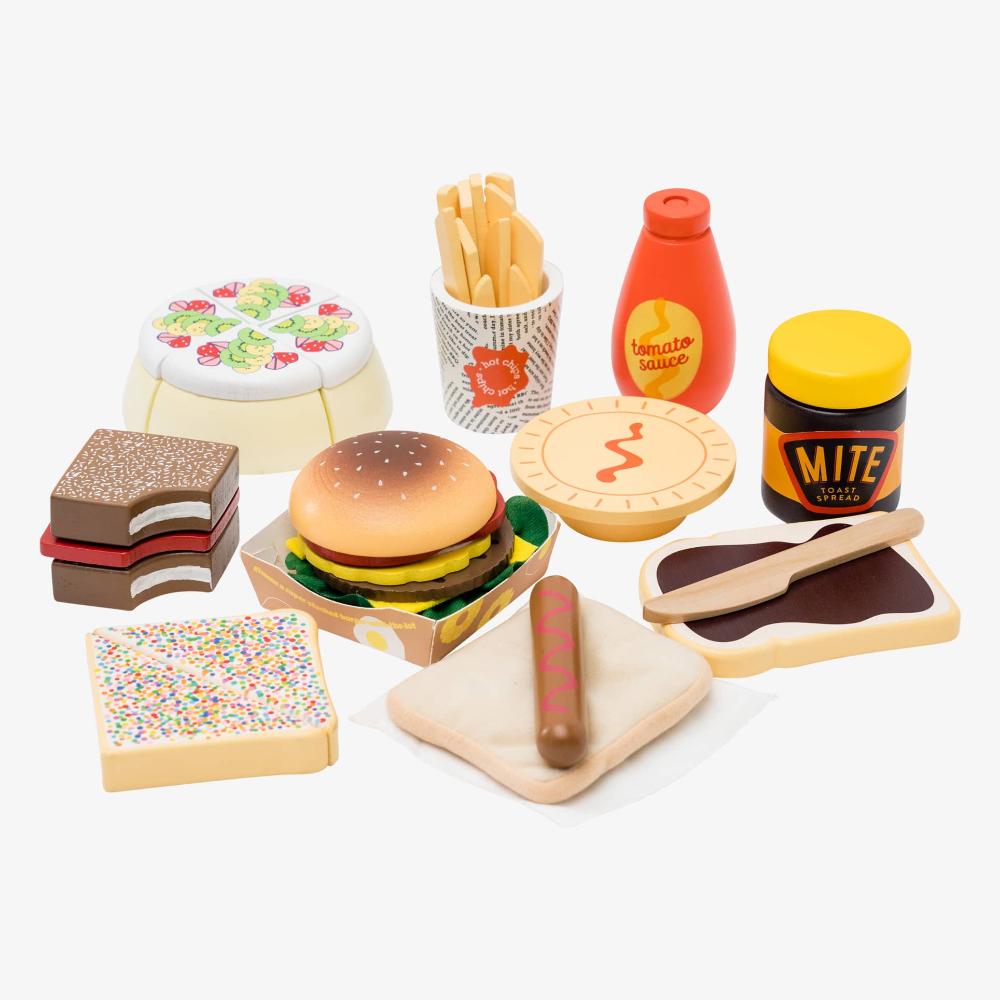
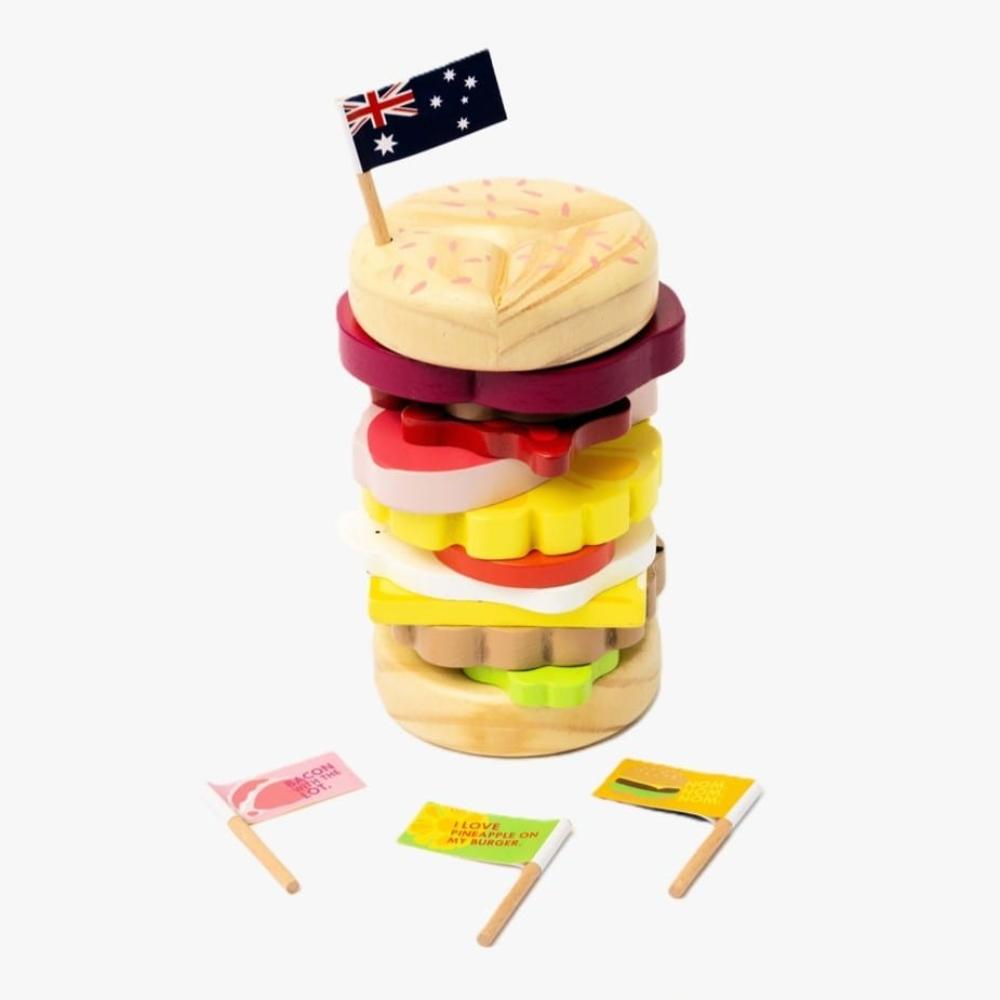
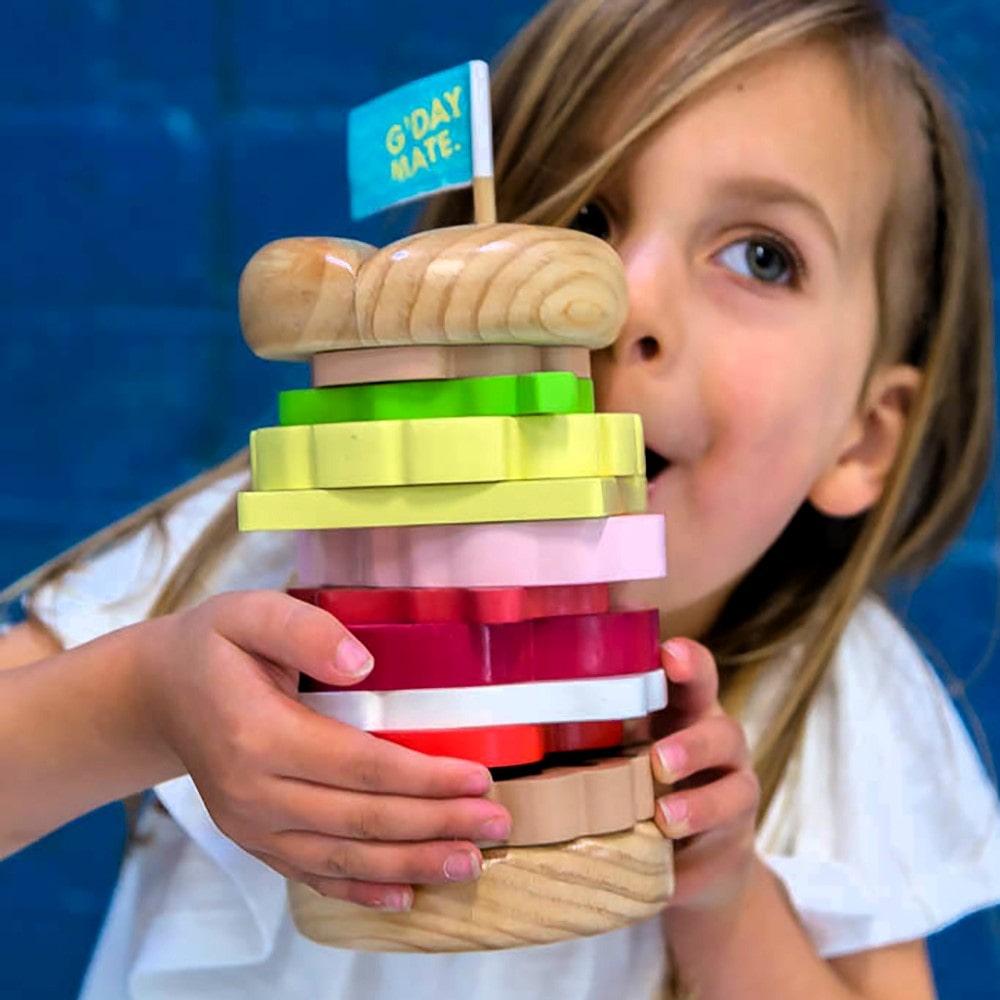
Even better, these handmade pieces can be mixed and matched with our Iconic Aussie Food Set to build the ultimate pretend play collection. Whether it’s setting up a backyard BBQ, running a pretend café, or hosting a picnic, kids can combine their creations with our wooden toys to expand their stories and play in new ways each time.
It’s a simple way to extend play, reduce waste, and get more value from every toy, all while creating special moments together. Craft it, play with it, and watch their imagination grow.


Leave a comment
This site is protected by hCaptcha and the hCaptcha Privacy Policy and Terms of Service apply.