
Craft your own Felt Letters with our FREE template download! 💌

Extend the Play with Felt Letters and Our Iconic Post Box
Looking for a crafty way to add even more fun to your playtime with our Iconic Post Box? Say hello to DIY felt letters. This simple project is perfect for getting creative while teaching little ones about mail, communication, and imaginative play.
Here’s how you can do it:
- Craft Your Own Letters – Grab some colorful felt, scissors, and fabric glue. Cut out shapes like envelopes, stamps, or postcards. Add details with fabric markers or thread.
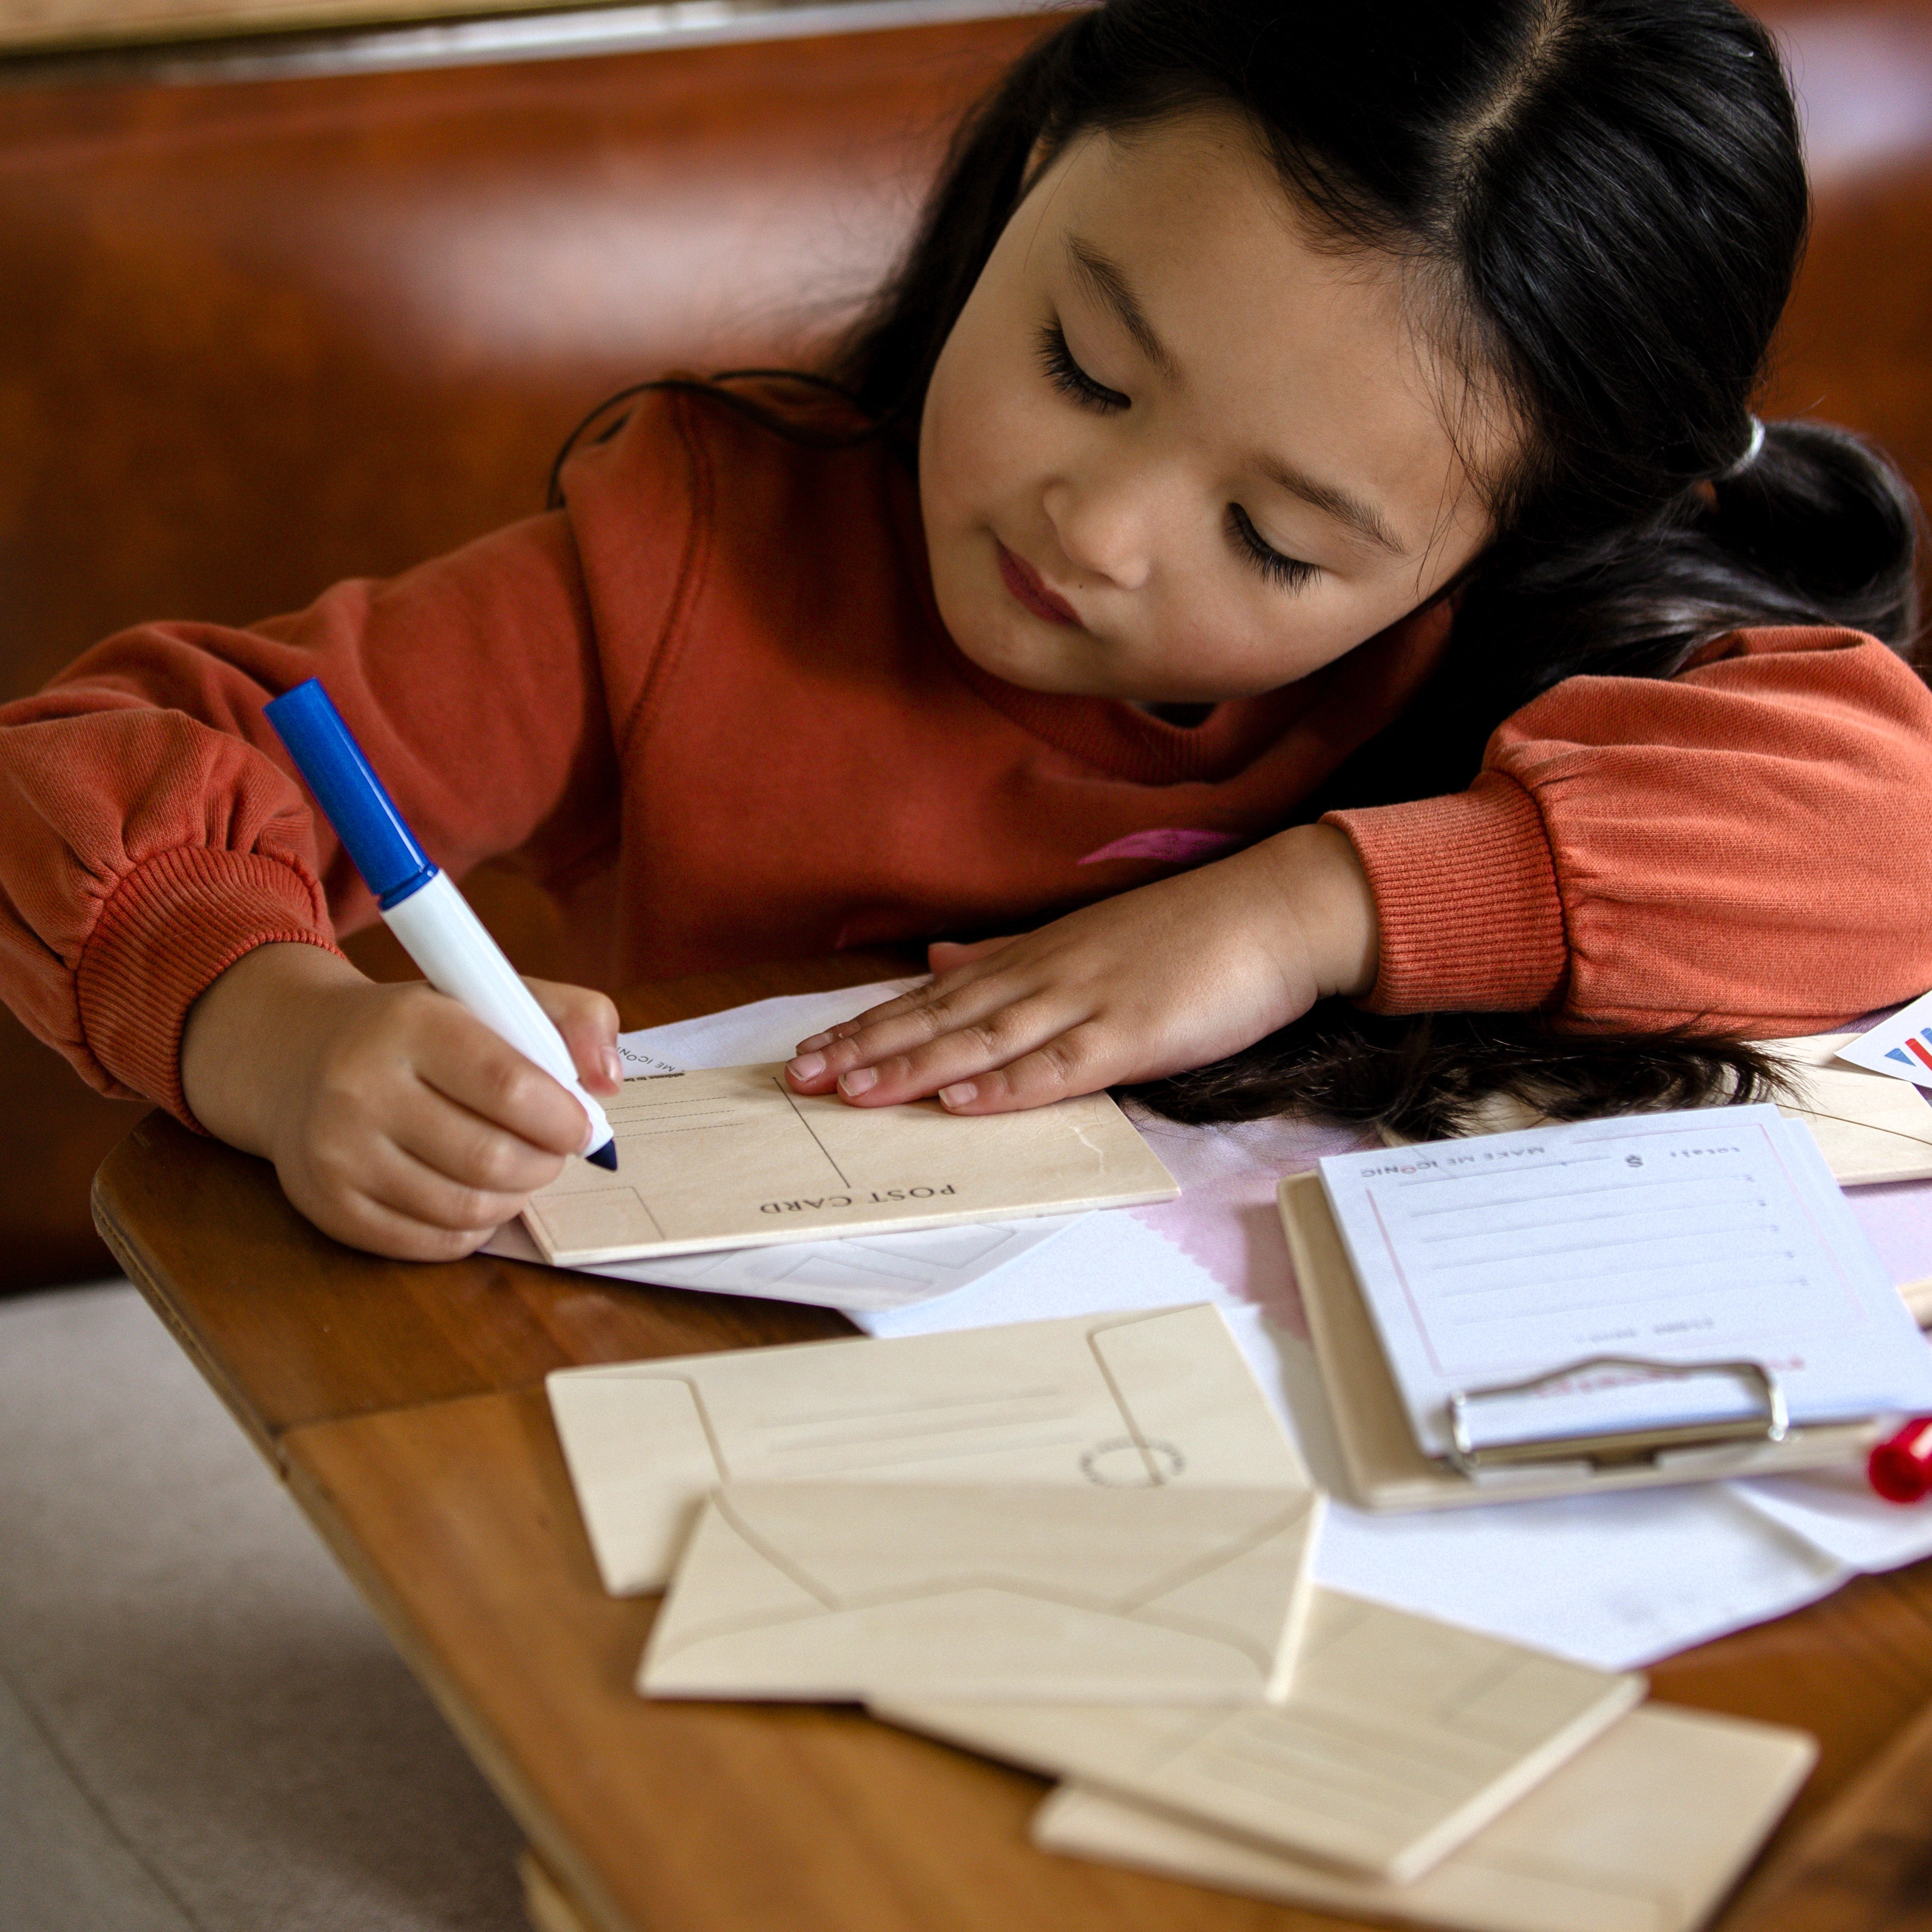
- Boost Fine Motor Skills – Let the kids “write” their felt letters or attach Velcro stamps to practice precision and hand-eye coordination.
- Make It Interactive – Role-play a post office scene. Deliver felt letters to family members, stuffed animals, or even imaginary friends.
- Learning Through Play – Teach address-writing, sorting letters, or numbers using your handcrafted felt creations.
Pair these felt letters with our Iconic Post Box for endless hours of creativity and fun. Share your felt letter creations with us—tag @makemeiconic for a chance to be featured.


You will need:
- A4 sheet of white felt (stiffened)
- 5 x 5 cm square of colourful fabric
- Velcro Dots
- A Marker
- Scissors
- Hot Glue Gun
- Envelope Template

Step 1
Cut Out the Template – Start by creating or printing a simple letter or envelope template. Once ready, cut it out and use it to trace shapes onto your felt.

Step 2
Cut Out Felt – Use the traced template to carefully cut out the envelope shapes from your felt.
Assemble the Envelope – Fold the side flaps of the felt envelope inward, then fold up the bottom flap. Glue the side flaps to the bottom flap to secure the envelope shape. Let the glue dry completely before moving on to play.

Step 3
Attach Velcro dots to the inside of the top flap and the top edge of the folded bottom flap to create a functional closure for the envelope.
Secure another Velcro dot to the front of the envelope where the stamp will be placed.

Step 4
Cut a rectangle from white felt, approximately 2.5 cm x 2.5 cm, and attach a Velcro dot to the back.
Cut a slightly smaller rectangle from colorful fabric and glue it to the front of the white felt rectangle to create a decorative stamp.

With just a few simple steps, you’ve created your own felt letters and envelopes to pair with our Iconic Post Box. This project not only enhances imaginative play but also encourages creativity, fine motor skills, and learning. Whether delivering mail to family members, stuffed animals, or imaginary friends, these handmade touches make playtime even more special.
Team it up with our Iconic Post Box for the ultimate play experience. It’s the perfect way to bring your creations to life and inspire endless imaginative adventures.
We’d love to see your creations! Share your felt letters and envelopes with us by tagging @makemeiconic. Happy crafting and playing!


Leave a comment
This site is protected by hCaptcha and the hCaptcha Privacy Policy and Terms of Service apply.