

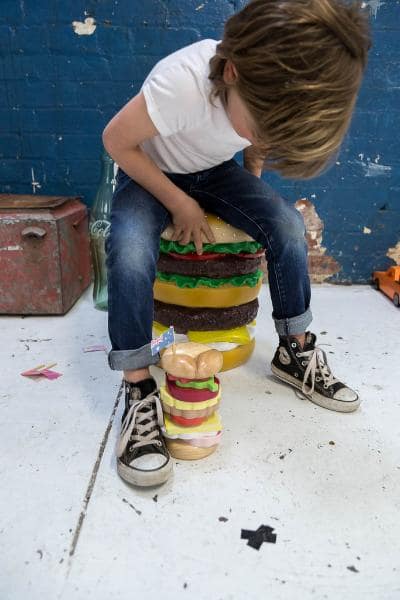
Craft your own Cardboard Sandwich 🥪

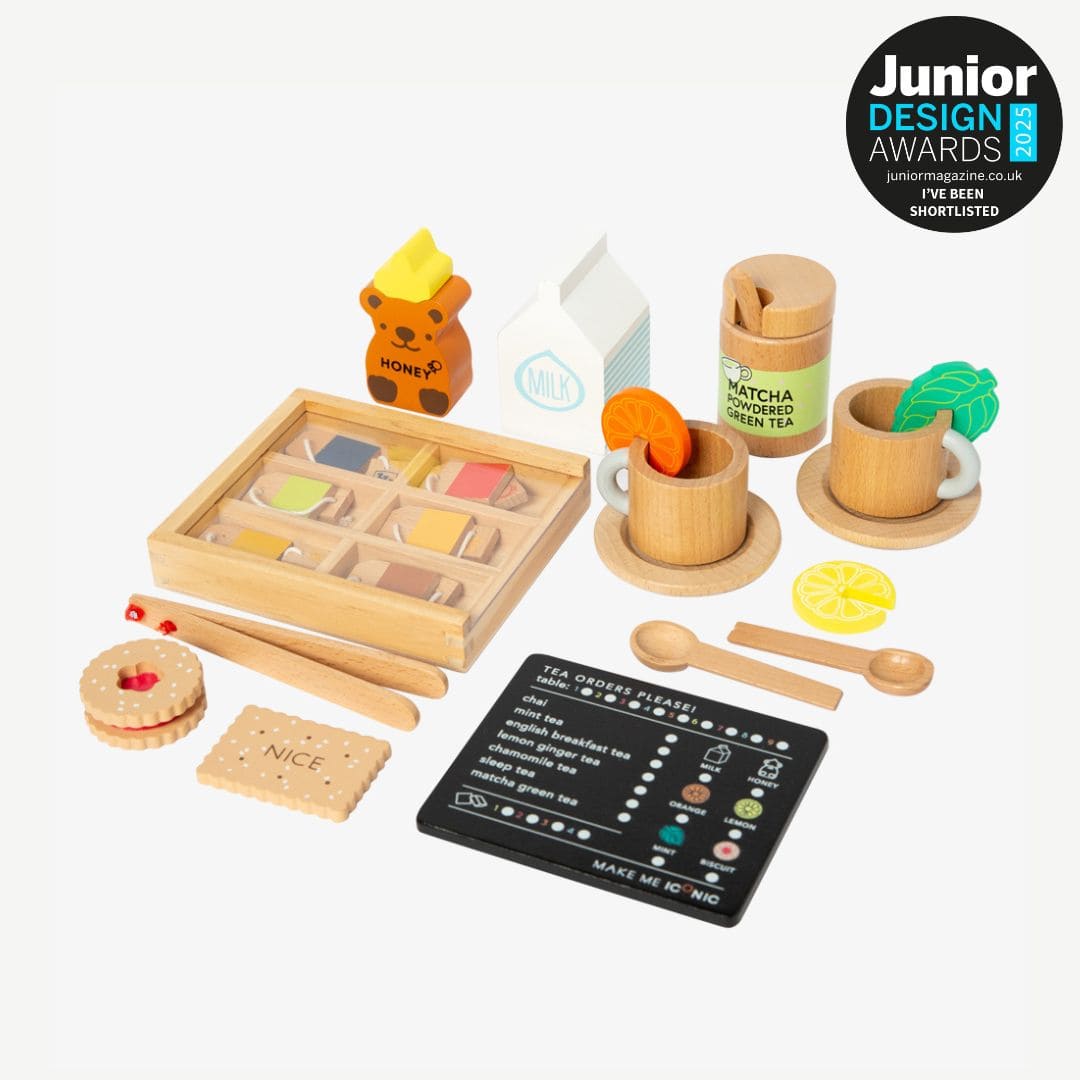
Crafting a realistic-looking cardboard sandwich is fun on its own, but why stop there? Combine your handmade sandwich with our iconic tea set extension kit to create the ultimate high tea pretend play experience! Here's how to extend your cardboard sandwich project into a delightful high tea set up. Whether you’re playing solo, with friends, or with your favorite stuffed animals, this project is sure to spark endless fun and creativity.

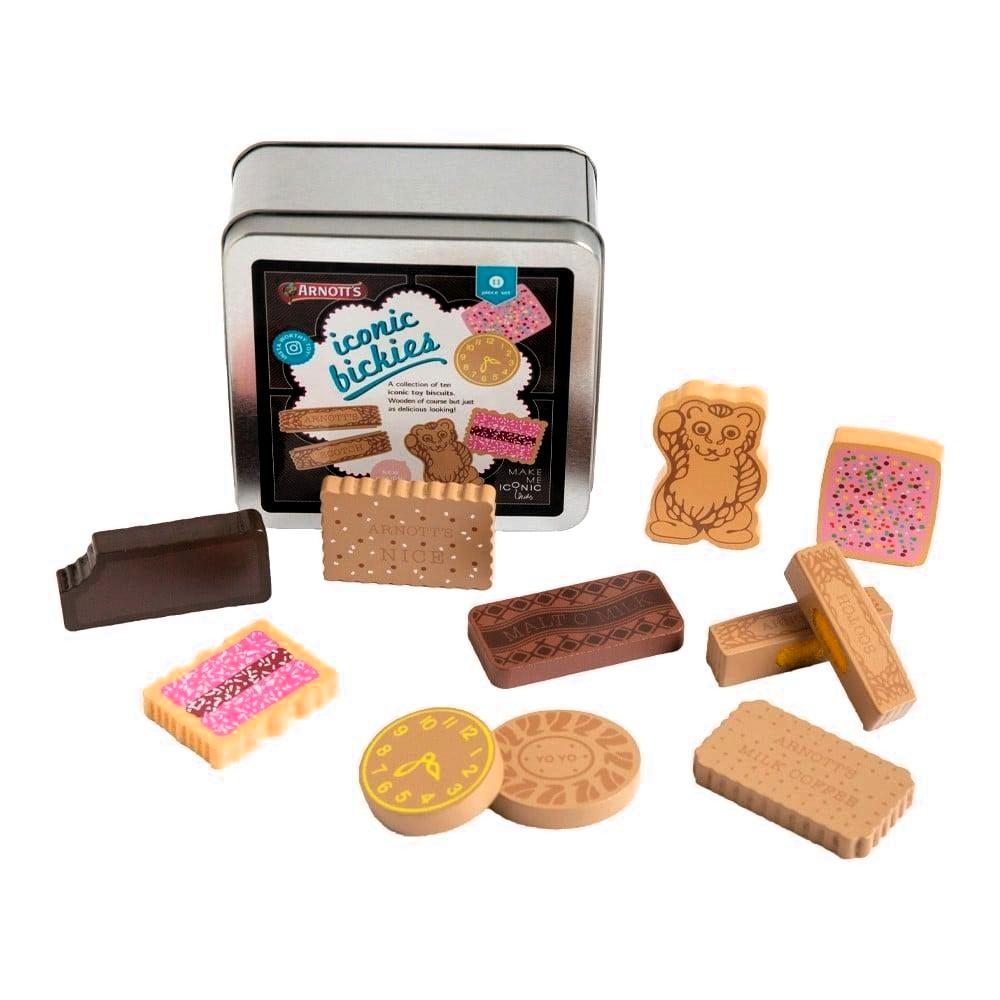
We’ve got a fun new craft just for you that pairs perfectly with our Iconic Wooden Toys!

How to Make a Cardboard Painted Sandwich with Bread and Cucumber Slices
Creating a fun and realistic-looking cardboard sandwich can be a great craft activity for kids and adults alike. Here's a step-by-step guide to make your own painted cardboard sandwich, complete with slices of bread and cucumbers.
Materials You'll Need:
- Cardboard (thin cardboard like from a cereal box works best)
- Pencil
- Scissors or a craft knife (adult supervision required)
- Acrylic or Tempera paint (in colors like white, beige, green, and brown)
- Paintbrushes (variety of sizes)
- Glue (liquid or glue stick)
- Ruler (optional for straight edges)
- Sponge or textured fabric (for painting effects)

Step 1: Draw and Cut Out the Bread Shape
-
Trace the Bread: Start by drawing a loaf bread slice shape onto the cardboard using a pencil. Bread slices are often rounded on the top and straight on the sides and bottom. Feel free to use our reference pictures if needed.
-
Cut the Bread: Using scissors (or a craft knife, if you have adult supervision), carefully cut out the bread slice shape. Repeat this step to create two identical pieces of bread for the top and bottom of your sandwich.
Step 2: Paint the Bread Slices
-
Paint the Base Layer: Begin by painting the center of the bread slice with an off-white or light beige color to mimic the inside of the bread. Leave a small border around the edges for the crust.
-
Add Texture: Using a sponge or fabric, gently dab the paint to give it a textured, soft bread-like appearance.
-
Paint the Crust: Once the inner bread is dry, paint the outer edges with a light brown color to represent the crust. You can mix in some darker brown to create a more baked look. Let the paint dry completely.

Step 3: Create and Paint Cucumber Slices
-
Draw the Cucumber Slices: Draw circles (about 5cm in diameter) on a piece of cardboard for your cucumber slices.
-
Cut Them Out: Carefully cut out the cucumber slices.
-
Paint the Cucumber: Start by painting the outer rim of the cucumber slices in a dark green color. Add darker green stripes for a realistic look or different sades of green.
-
Detail the Center: Paint the inner circle a pale or light green. You can add small white dots or lines to represent the seeds.
Step 4: Assemble the Sandwich
-
Stack the Ingredients: Lay one bread slice on the table, then arrange your painted cucumber slices on top of it.
-
Top It Off: Place the second bread slice on top to complete the sandwich.
-
Optional Decoration: If you want to add other ingredients, such as lettuce, tomato, or cheese, repeat the same process for drawing, cutting, and painting other sandwich items.

Step 6: Display Your Craft
Once everything is dry and assembled, your cardboard painted sandwich is ready! You can use it for pretend play, decoration, or as a fun display piece and add your iconic tea set extention kit for some afternoon tea time!
This project is simple and allows for creativity in adding different ingredients. It also teaches basic crafting techniques like cutting, painting, and layering!


Leave a comment
This site is protected by hCaptcha and the hCaptcha Privacy Policy and Terms of Service apply.