Doll House ✂️ crafting with our cardboard tram box

Looking for some School Holiday fun? With our step-by-step instructions you can create a beautiful cardboard Dolls House out of our iconic tram box. And just incase you're not the crafting type, we have put together some simple steps and ideas to help get you started. Read below on our Life & Play blog for all the details...

What you will need
1. Make Me Iconic - cardboard boxes
2. Make Me Iconic - A4 template (download below)
3. Scissors
4. Stanley Knife
5. Pen
6. Ruler
7. Hot glue gun + Refills
8. Poscas Pens to decorate
9. Cutting Mat
10. Tissue Paper & scrap Paper

Step by Step Instructions

1. Inspect your box and find the edge that has been joined by glue. Slice that edge open with your stanley knife and lay the box flat out.

2. Use your scissors to cut off panel 1 - leaving panel 2, 3 and 4 still joined together.

3. Download the Make Me Iconic template (see link above) and cut out the 5 shapes as outlined.

4. Grab panel 1 and draw around templates (roof x1) (planter box back x 2) (planter box front x2) and then use your stanley knife to cut them all out. Make sure you have a cutting matt underneath. We find a mental ruler works best. Be careful not to cut yourself.

5. Draw around your door and 2 x windows on panel 3 using a pen and ruler.

6. Find the middle of both windows and door and draw a line down them.

7. The pink lines on your template indicate score lines (which means cut half way through the carboard so it will bend) and the rest of the lines need to be cut all the way through using your stanley knife giving your windows shutters that can open and close. So grab your knife and score both edges of the window and then cut top and bottom and down the middle.

8. Now you need to use the same technic on your door as you did on your windows. Score down both sides, cut the arch, down the middle and at the bottom.

9. Cut the flap above panel 3 so that both sides angle in giving the appearance of a roof.

10. Grab all the decorative parts you cut out of panel 1. Score down the middle of the roof, score across the middle of both planter box backs and score twice on both the planter box fronts. (score lines at 1.5cm and 6.5cm) If it makes it easier use a pen first to draw the lines and then score.

11. Hot glue together both your planter boxes front and back

12. Then hot glue the planter boxes evenly under the windows. (Make sure the hole for the planter box is facing up)

13. Hot glue on the roof onto the flap above panel 3.


14. Use Poscas pens to decorate the front. We used teal color for the planter boxes and a lighter shade for the front door.


15. Add bits of tissue paper in the planter boxes to fill the spaces. You could also make your own flowers if you feel like it.

16. We also added stripes on the windows to make the look of plantation shutters.

17. Add a tiled roof with tissue paper.

18. Now you are ready to stand up your little house. Hot glue some of the bottom flaps together to create a steady base to stand your little house up.

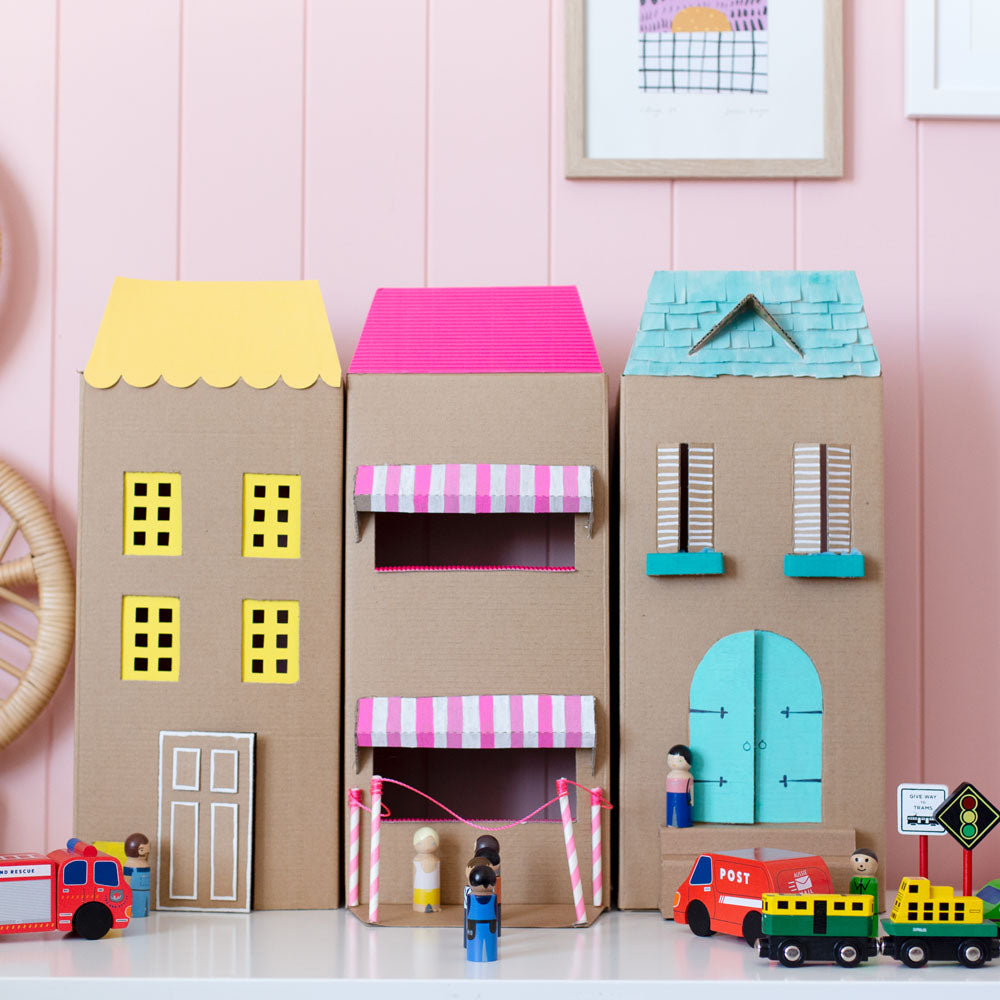
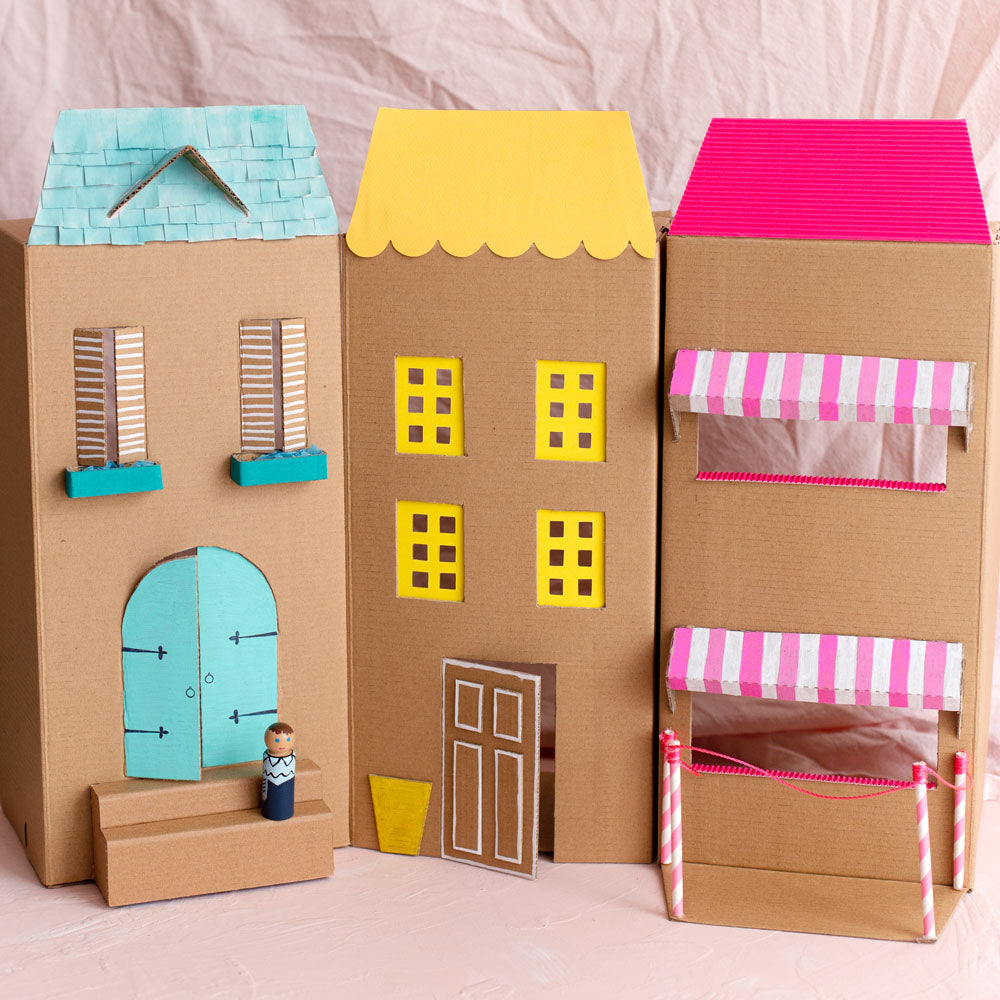
19. Now repeat all these steps again and create more little houses in different colors to create a little village. We love this little pink one with the shop front canopy and straws to create a front viewing area for customers.

20. This yellow one is also easy to make using the same principles and just some more imagination!

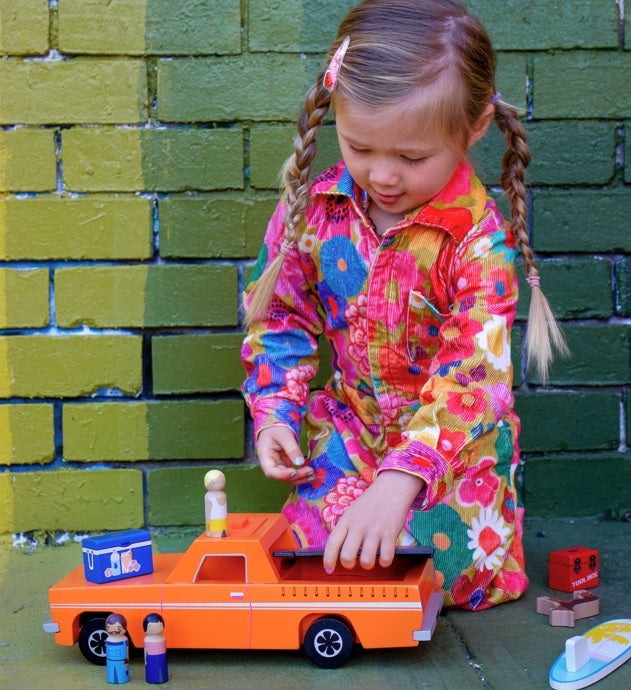
Add our iconic small parts kit or our people from your tram or ute.

The most gorgeous little hand made village ever made out of our cardboard packaging.


Comments